Digital delivery menu: how to build yours from scratch
A step-by-step guide to building a digital delivery menu: categories, mouthwatering descriptions, clear prices and add-ons, delivery hours and a permanent link in your bio.
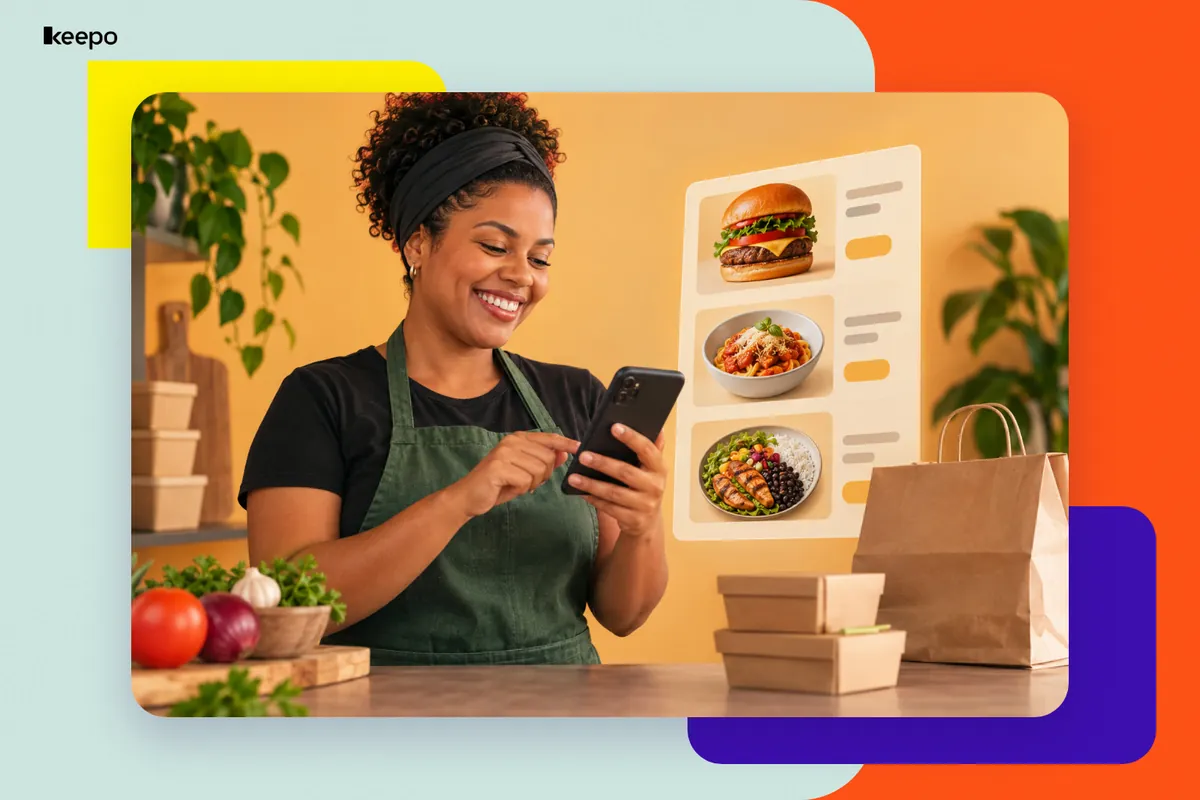
If you sell food through Instagram, you know the drill. Someone asks “do you have a menu?”, you send the photo, and the questions start rolling in: “how big is the medium?”, “do you have a lactose-free option?”, “do you deliver today?”, “how much is extra bacon?”. Every conversation takes minutes, and at peak time that turns into a pile-up in your DMs and lost orders. A digital delivery menu solves a lot of this. It lives at a single link, looks great on a phone and answers questions before anyone has to ask. Here’s how to build yours from scratch.
What a digital menu is and why it beats a photo of your menu
A digital menu is a page with your dishes written out as text, organized into categories, with prices, descriptions and ordering information. The difference from a photo or a PDF is practical: customers can read it without zooming in, you can change a price in minutes without redoing the design, and you can send the link as many times as you need, always up to date.
Before you start: gather this information
Building your menu goes much faster when you have everything at hand. Get together:
- A list of everything you actually sell today (not what you sold six months ago).
- Current prices for each item and each size.
- Add-ons and how much each one costs.
- Your opening days and hours.
- The neighborhoods you deliver to and how your delivery fee works.
- The payment methods you accept.
- The photos of your dishes you already have.
Step 1: organize your menu into categories
Categories help customers find what they want without scrolling through the whole page. Think about how they look for food, not how your kitchen is organized. A few examples:
- Burger joint: Combos, Burgers, Sides, Drinks, Desserts.
- Meal prep kitchen: Meal of the day, Healthy line, Weekly bundles, Drinks.
- Bakery: Whole cakes, Slices, Sweets by the hundred, Party orders.
A few rules that work:
- Put your best sellers first. Hungry people decide fast.
- Stick to four to seven categories. More than that tends to confuse people.
- Avoid categories with just one item. Merge them with a similar one.
- Use simple names. “House specials” means nothing to someone who has never ordered from you; “Handcrafted burgers” does.
Step 2: write names and descriptions that make people hungry
The name identifies the dish. The description is what sells it. A good description tells people what’s in the dish, how it’s made and how much it serves. Compare:
Before: Bacon Burger: bun, patty, bacon, cheese.
After: Bacon Burger: brioche bun, 150 g griddle-cooked patty, crispy bacon, melted cheddar and house mayo.
The second version answers questions (which bun, which cheese, patty size) and makes people want to order. To write yours:
- Use texture and cooking words, like crispy, creamy, freshly baked, homemade. But only if it’s true: customers will compare it with what arrives.
- Include weight, volume or quantity: 400 g, 500 ml, 25 pieces.
- Say how many people it serves, especially for sides, cakes and bundles.
- Flag dietary information: contains gluten, contains lactose, vegetarian option. This saves questions and prevents problems.
- Keep it short. One or two lines per item is enough.
Creative names are great for your brand, but they need an explanation. A “Chef’s Explosion” with no description just becomes one more DM asking what it is.
Step 3: make prices, sizes and add-ons crystal clear
Questions about price are among the biggest things that stall an order. Nobody likes finding out the real total only at the end of the conversation.
- A price next to every item. No “ask for prices”.
- Sizes with actual measurements. Instead of “S, M and L”, write “açaí 300 ml, 500 ml and 700 ml” or “medium pizza, 6 slices”, each with its own price.
- Add-ons in their own list, with the price of each one. Also say what’s already included and how many sides customers can pick at no extra cost.
- Detailed combos: what comes in them and whether the drink or side can be swapped.
- Delivery fee up front: make it clear whether or not it’s included in the price.
Step 4: show your days, hours and how delivery works
Before choosing a dish, customers want to know whether you deliver today and to their neighborhood. Put this information right at the top of the page:
- Opening days and hours.
- Order cutoff time, if you have one. For example: “meal of the day, orders until 10:30 a.m.”.
- Neighborhoods you deliver to and how the fee is charged.
- Whether pickup is available, and where.
- How much notice you need for custom orders, like cakes and party bundles.
- Average delivery time, but only if you can really stick to it.
Step 5: show how to order and pay
Your menu needs to end with a clear action. Once they’ve chosen, customers have to know exactly what to do: message you on WhatsApp, fill out an order form or pay directly. Also list the payment methods you accept, such as Pix, card or cash on delivery, and let them know if they need to say how much change they’ll need.
Common mistakes that make customers give up
- An image menu with tiny text. On a phone, nobody can read it without zooming in and dragging the screen around. And every time a price changes, you have to redo the design.
- A PDF menu. It opens outside Instagram, can be slow on mobile data and is a pain to navigate.
- Sold-out items that still show up. The customer picks something, you say it’s gone, and their appetite for ordering goes with it.
- Outdated prices. Charging something different from what’s written makes things awkward when closing the order.
- Dark photos or photos that don’t look like the real dish. A simple photo in natural light is better than a beautiful image that doesn’t match what arrives.
- A delivery fee hidden until the end. A surprise in the final total is a common reason people give up.
- Too many items. A huge menu is tiring. If something hardly ever sells, consider dropping it.
How to put your menu at a permanent link in your bio
Once your menu is ready, the next step is to put it all at an address that never changes. That way, anyone who lands on your profile can find the menu without sending a message, and you stop sending the same photo every day.
With Keepo, you build a page with your business name, add your dishes to the catalog with a photo, description and price, and put everything customers need to complete their order in one place: a WhatsApp button, a form for custom orders, scheduling for pickups or cakes with a set date, and payment by Pix and card. When a price changes, you update it once and the change applies to everyone who opens the link.
Then share that same link in several places:
- In your Instagram bio.
- In a saved reply in your DMs, for anyone who asks “do you have a menu?”.
- In your stories, with the link sticker, whenever you post a dish.
- In a highlight called “Menu” on your profile.
- In your WhatsApp status and profile.
Building a digital menu takes a bit of work the first time, but you’ll get that time back quickly through fewer repetitive messages and faster orders. Gather your information, follow the steps above and create your Keepo to keep your menu, ordering and payment at a single link in your bio.